Supplies:

1. Regular cheap-o school glue (I scored this for 10 cents at Walmart! Back-to-school supplies a few weeks after school started)
2. Air-tight jar (I used a pasta sauce jar, so free!)
3. Water
Step One
Empty the glue into the bottle. I let it stay upside down for several minutes until it stopped dripping.
Step Two
Fill the empty glue bottle about 3/4 full of water. Pour that into the jar. Close the lid. Shake shake shake! That's it. You're done! And if you managed to also find a ten cent bottle of glue, you now have ten cent mod podge!

Now what do you do with it? Basically, it acts as an adhesive and sealant of sorts. You can paint some on a box and adhere decorative paper to it. Let it dry, then cover with another layer to seal the paper. Here is the project I just finished today. I got a wooden plaque, painted it, and let it dry. Then I cut out some letters from scrapbooking paper I've had for YEARS. I brushed some of my new mod podge onto the surface and stuck on the letters.

Once it was dry, I brushed on another layer to seal the paper. Added a few stickers, attached a ribbon to the back, and voila!
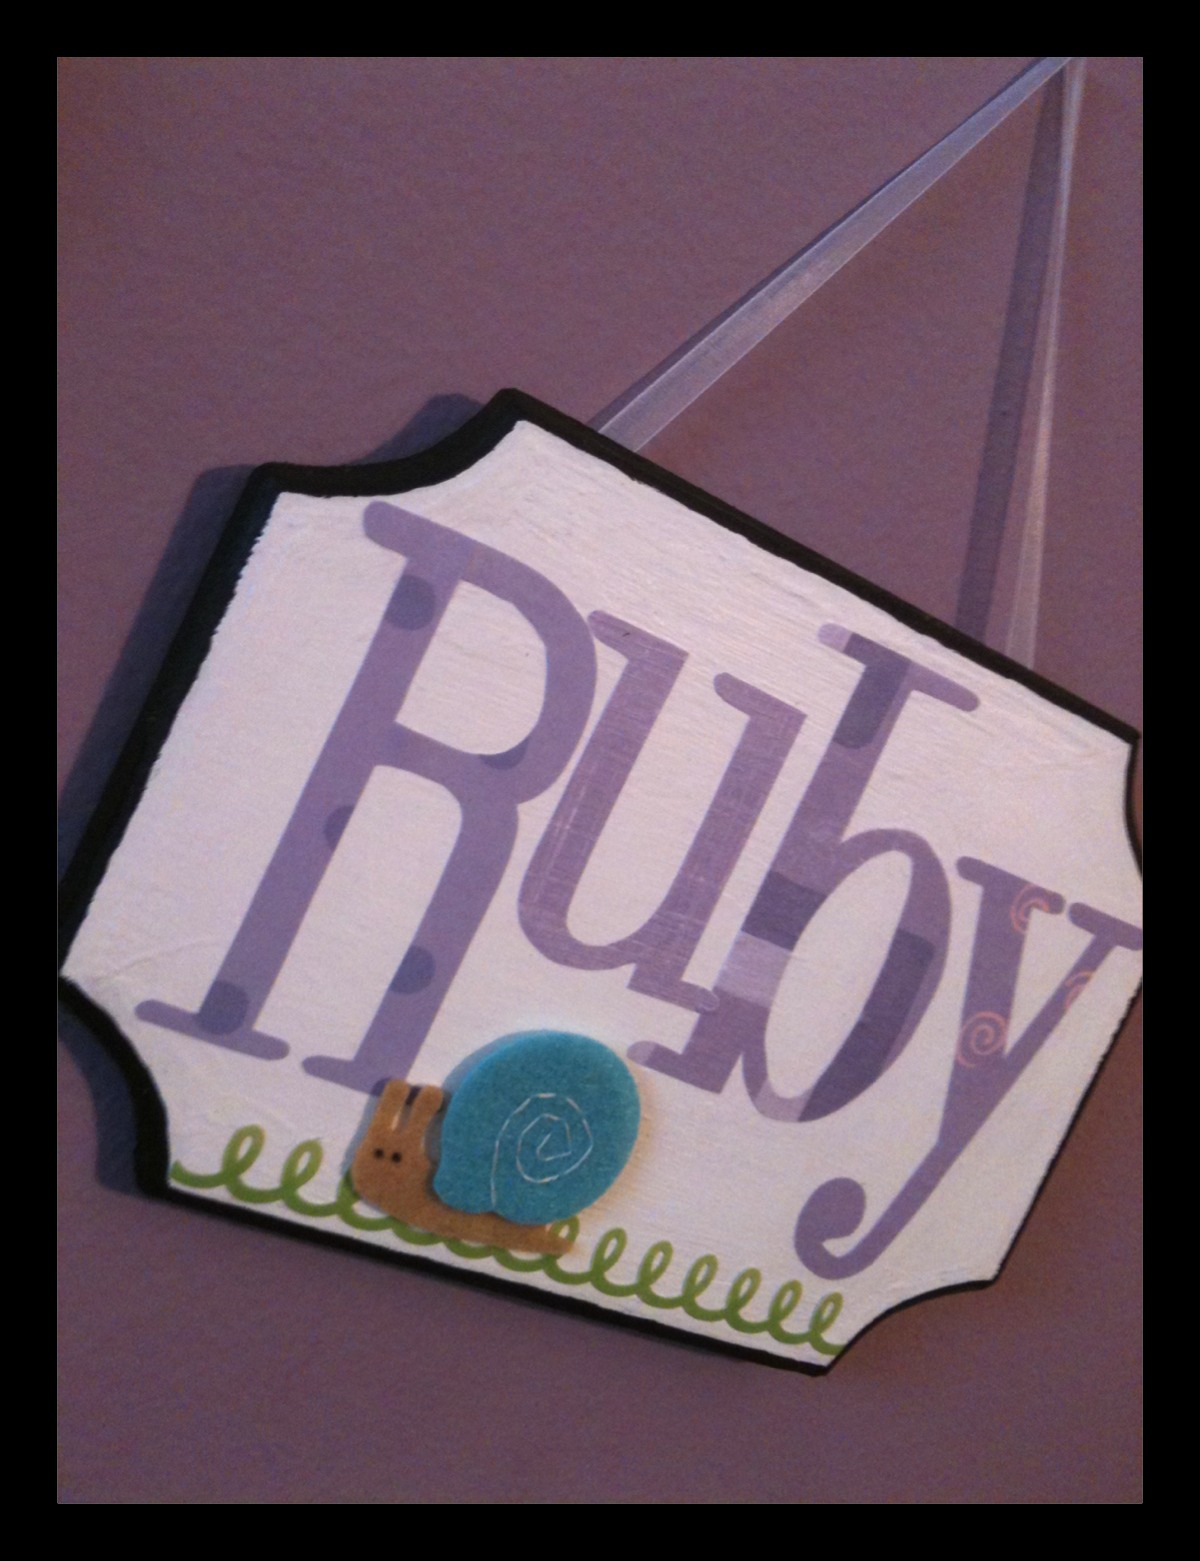
Birthday present for a seven year old that loves purple and bugs. (Don't tell her yet! Her party is this weekend...)
No comments:
Post a Comment